My wife and I have lived in New England for almost all of our lives. I started out in the fish business back in the Eighties, working on the Gloucester Wharf for 20 years learning all about fish and fish cutting.
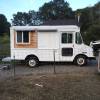
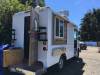
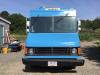
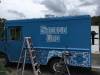
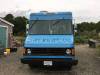
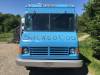
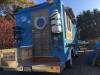
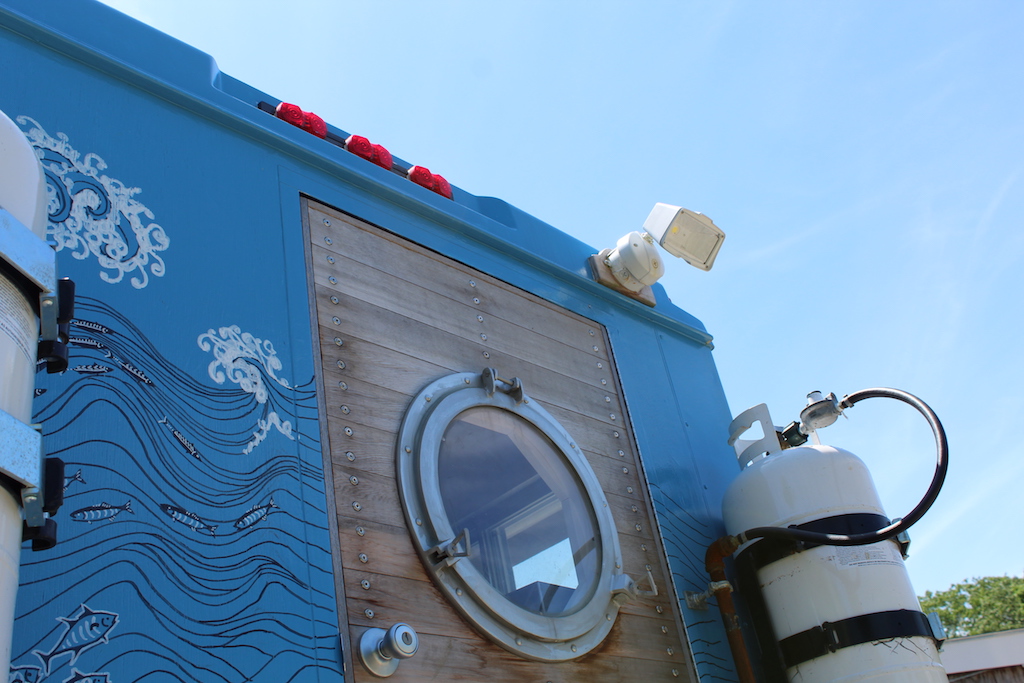
We bought our food truck about 3 years ago and completely redid it from the inside out. It was a long process but we learned a lot along the way — “Another Damn Learning Experience” — so I know every inch of this truck inside and out. The final step in redoing the truck was painting it with a design based on native New England fishes.
During this time we worked to create a unique menu based around fresh fish, and worked with the amazing Lisa Sutton at Kitchen Local in Amesbury in her kitchen co-op, networking with other local food entrepreneurs and obtaining all the necessary licenses to operate in towns local to the North Shore.
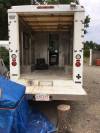
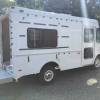
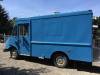
Before she became “Miss Courageous”, this truck had a long life as a work truck for a security business. After that she was started to be outfitted as a Food Truck but never quite finished or ever used. She sat for a couple of years in limbo — that is when we purchased her. The set up and equipment was unsuited for the kind of cooking I wanted to do. I thought I could just swap out a few things, make a couple of changes, finish her up and I’d be in business…
As everyone who’s renovated or repaired anything knows, of course that was not the case! “This’ll be easy” The more I dug in, the more I realized this would need to be a total rebuild. Water damage through the leaking windows sealed the deal, I would gut her and start out fresh…. This is that story.
Slide 1
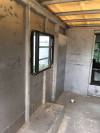
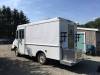
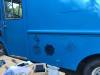
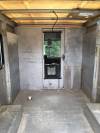
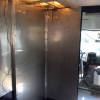
She’s gutted down to her aluminum studs and skin with her rear doors removed and retired. The deconstruction of her took a great deal longer than anticipated. Looking back, I wish I had realized earlier that a complete rebuild needed to happen. I wasted a lot of time trying to save an interior that shouldn’t have been saved.
Slide 1
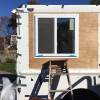
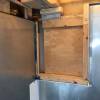
This leaking window has to go, the freshwater tank and water pump will replace it in this location…wish I had taken a photo of all the rotted plywood and insulation that I tore out of her.
Slide 1
The outside of the window to be removed.
Slide 1
A piece of sheet aluminum from Port Sheet Metal to make a fresh start. I don’t know what I would have done without Sandy at Port Sheet Metal, I did a lot of the metal fabrication myself, but every piece of stainless steel or aluminum that I couldn’t fabricate, they could…all I had to do was make a drawing with the proper dimensions/specs and they would make it flawlessly…..unlike the far more flawed pieces I crafted!
Slide 1
The original service window has to be replaced…..it leaks like crazy, is the wrong size and is in a bad spot for my needs.
Slide 1
Outside view of service side window to be replaced.
Slide 1
The cut out for the new service window, the old void will need to be filled in.
Slide 1
Inside view, cross members cut for more headroom. Bracing for ceiling will have to go on top of the roof. New marine plywood for the reconfigured stern.
Slide 1
New service window…wish I could have afforded one of those cool custom made jobs but we’re building her out of pocket…in Low Budget Land!
Slide 1
Inside view with more marine grade plywood and some epoxy coat.
Slide 1
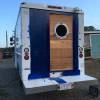
Finished window with tongue and groove cedar and trim. Stainless steel light covers actually came with the truck but I installed low wattage, water tight LED’s.
Slide 1
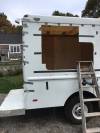
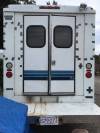
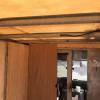
The doors that came on the truck…they have to go! Will need to rebuild the stern with a reconfigured rear entrance and make a new door.
Slide 1
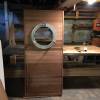
Here’s the finished door with the same tongue and groove cedar as the service side window. Porthole window came from e-bay.
Slide 1
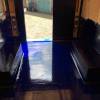
The new rear entrance and door with some epoxy coat on the new plywood.
Slide 1
Plywood underbody of the generator baffle box is taking shape. The propane tank mounts needed some modification from their intended use but they work quite well.
Slide 1
Generator box finished. I spent more time and effort on this than I would like to admit… Unfortunately it didn’t survive very long and I needed to completely redesign and rebuild another one….live and learn!
Slide 1
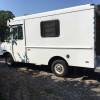
Miss Courageous with screw holes filled and sealed. She’s primed with 3 coats of Rustoleum and ready for my wife Karen to work her magic with the paint job!
Slide 1
Karen’s starting her blue canvas!
Slide 1
... more blue ...
Slide 1
More blue! The black grille and bumper are not working for me…. not sure what the end result will be…but it won’t be this!
Slide 1
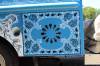
The original idea for the paint job was inspired by the graphics on a typical bandana. From that concept, Karen built her vision for the artwork….I couldn’t be happier with the result!
Slide 1
Few more panels
Slide 1
This is my personal favorite panel, I love the flatfish and whelks!
Slide 1
The layout for the lettering.
Slide 1
Slide 1
Slide 1
Slide 1
This side is pretty much done....the waves are to glue the panels together and are inspired by Japanese design
Slide 1
Now for the service side!
Slide 1
Slide 1
Slide 1
She looks so grumpy...
Slide 1
That's better!
Slide 1
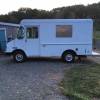
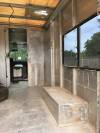
The finished rear view
Slide 1
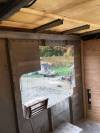
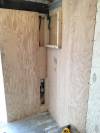
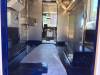
OK, let’s go through the inside rebuild. You can see the coupler for the wastewater tank sticking up through the floor. The 3 bay sink and hand washing sink will drain into it and into a waste water tank mounted below. I’ll need to build a new sliding door to replace the original sliding door pictured here between the cab and the kitchen.
Slide 1
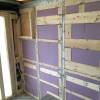
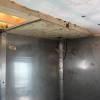
The bare aluminum studs will need to be filled with insulation and wooden framing to provide screwing surfaces for the marine grade plywood and equipment mounted to the walls.
Slide 1
The plywood going up. I’ll have to make removable panels to get to devices like the rear/brake lights for servicing.
Slide 1
More plywood!
Slide 1
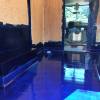
The floor has had its screw holes and voids filled and sealed. The dented up aluminum wheel wells have been clad in plywood for a smooth surface and all the floor edges have been coved and caulked. After priming the bare aluminum, the first coat or two of epoxy coat has been applied.
Slide 1
Any plywood not covered by stainless steel or RFP will need a number of coats of epoxy and top coats of aliphatic urethane.
Slide 1
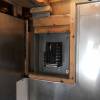
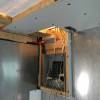
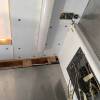
The space for the electrical panel. I’ve already put up the stainless steel for the walls.
Slide 1
The panel is in, now it’s time to run the wire for the central nervous system for Miss Courageous.
Slide 1
Here we go!
Slide 1
Port cut in ceiling panel for the upblast exhaust fan.
Slide 1
The wiring has to be done before I can make the ceiling panels out of plywood and RFP. The panels need to be removable, just in case I ever need to get in the ceiling.
Slide 1
Slide 1
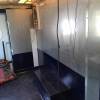
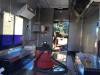
Starting the layout of the kitchen-to-be. Although it's on wheels, this is a commercial kitchen with heavy duty cooking equipment.
Slide 1
The freshwater tank and the water pump installed where the old window used to be.
Slide 1
Here I built an enclosure for the water pump with a couple little sliding doors for access. The water pump is run off the truck battery not the generator. This setup allows me to have running water at any time, completely independent of the generator. The hot water heater is a different story….that needs a 20 amp circuit and is the largest consumer of power in the truck.
Slide 1
More layout of the kitchen-to-be.
Slide 1
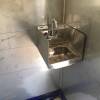
First kitchen item in: the handwash sink.
Slide 1
Start of the ceiling panel above the sink. This will get a covering, wiring and an LED strip light to illuminate the workspace.
Slide 1
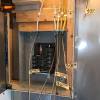
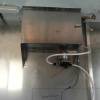
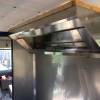
Now we're getting serious! The exhaust hood over where the flat grill & cooking area will be.
Slide 1
The floor and wheel wells are ready to receive their aluminum diamond plate shielding.
Slide 1
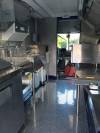
Diamond plate and hot water heater installed…..just ignore the shop vac trying to hog all the attention.
Slide 1
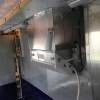
I’ve finished up the plumbing/water system and installed the 3 bay sink. The salad top refrigerator has joined the crowd with the flat grill and fryer soon to follow. At this point the fryer isn’t hooked up yet, I’m just measuring where it will go and how I will anchor it and the flat grill.
Slide 1
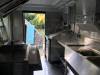
Another view……almost there, we still need the fire suppression system, gas line, fryer, flat grille and corresponding propane regulators installed. I will leave the fire suppression, propane lines and hookups to a professional….A-1 Restaurant Venting did that work for us. I have done all the wiring for the equipment, outlets, lights and generator. I did have a professional attach that wiring to the electrical panel, Mahoney Electric despite his busy schedule came through for us. At this point I have to give a huge shoutout to New Meadows Auto in Topsfield, they keep Miss Courageous running when she gets a bit cranky!
Slide 1
In closing, I put this together and added it to the website for a couple of reasons…one was for myself, I wanted to look back and make a kind of historical record. The other was to give confidence to anyone out there who was thinking of giving this kind of project a try. When I began looking at starting a food truck business, everything I read said you can’t build one; you should buy one ready to go. I’m fairly handy but I’m no MacGyver… if I can do it, perhaps you might try it as well.
Thanks for reading, Peace, Paul.
Slide 1
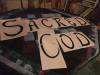
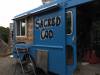
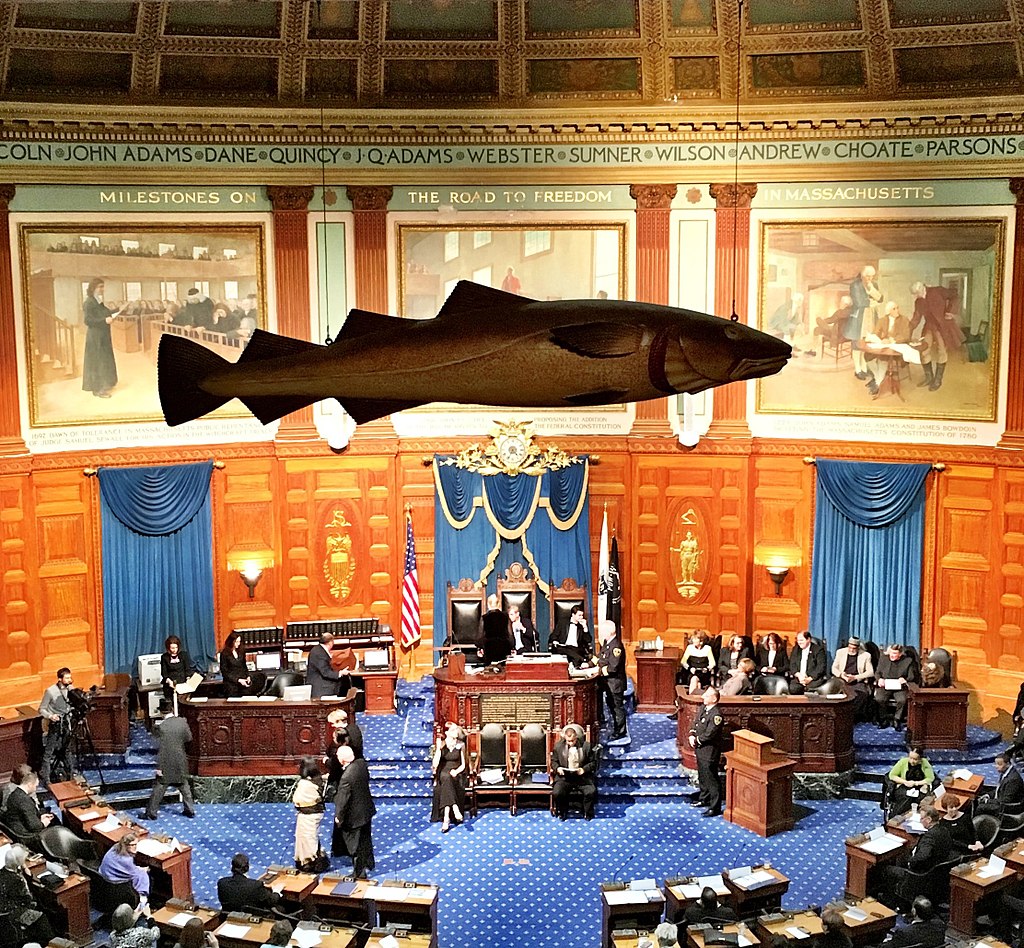
What is the Sacred Cod?
The Sacred Cod
The almost 5′ long wooden Sacred Cod hangs in the Massachusetts State House as “a memorial of the importance of the Cod-Fishery to the welfare of this Commonwealth”. The picture above shows the third incarnation of the Sacred Cod…the first sacred cod may have been a urban myth (yes, they had them back in 1700) and incarnation 2 was cod-napped back in 1750 in mysterious circumstances and never recovered.
The third Sacred Cod, above, was cod-napped two more times, once by the Harvard Lampoon and once by UMass, but recovered and hangs in the State House today. The last we checked.
It has a companion, the Holy Mackerel. I kid you not.